
Create a new press release
When you receive a press release from your customer the first step is to save all the documents on your computer’s hard drive, in a dedicated folder. You must name this folder the same as the press release’s title.
Then complete the following steps:
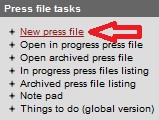
- From the main menu click on New press file under the Press file tasks.
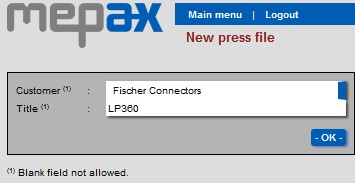
- Select client from the drop-down box and add press release title and click ok.
- Now select the communication contact and click ok
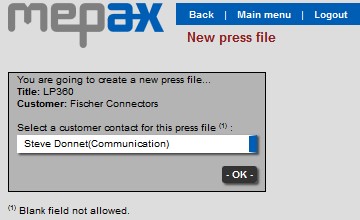
Now you have created your press release template.
- Now you must select the appropriate BU (Business Unit) Communication or Local Contact.
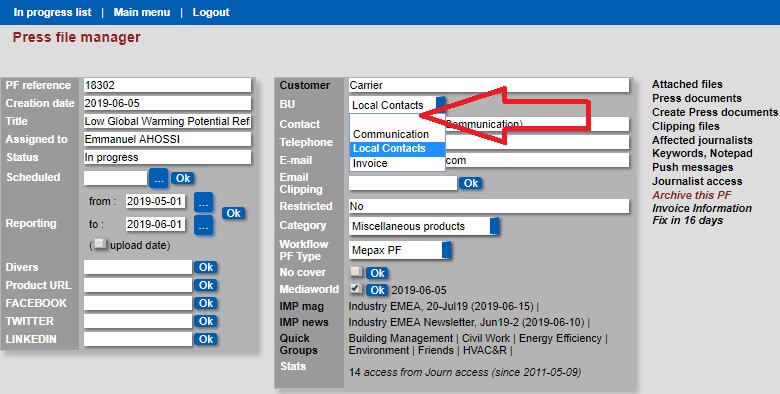
NOTE: if you need your local contact to appear at the end of your Press Release you must select Local Contacts. If not choose Communication and only this contact will appear.
Press file manager general presentation:
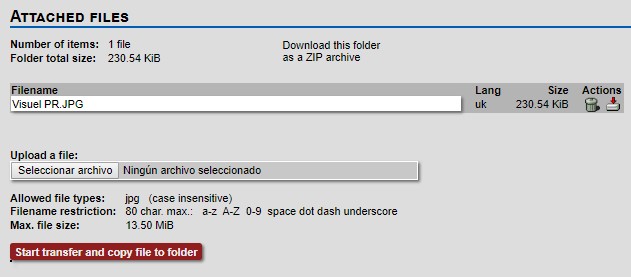
- Attached files: you can upload and consult the pictures.
- Press documents: you have the texts in different languages.
- Create Press documents: In this part you must upload your translations received.
- Clipping files: you can upload your clipping and you have access to the clipping already uploaded.
- Affected Journalists: you have the lists of journalists once created.
- Journalist access: you can consult how many journalists have been contacted since your PR was sent.
- Invoice Information: You should prepare the client’s invoice.
- Before uploading your master translation, it is better to upload the pictures by clicking in Attached Files.
- Then if you click on Create Press documents, you can upload your master translation.

- Select the language.
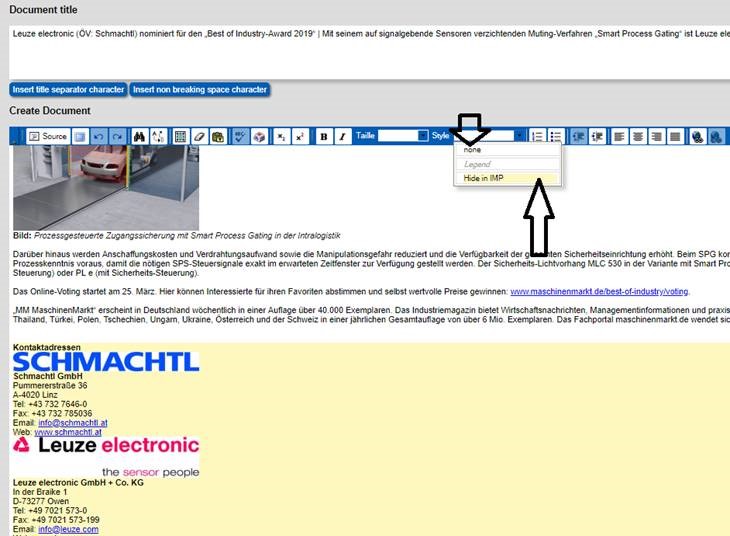
- Copy and paste your title and header into the Document title box, add a separator character with a space before and after (see green box).
- Copy and paste your body text and click on create file.
- After clicking on create file, you will automatically return to the press document and you can see your master copy uploaded.

- If you click on this icon
 you directly open the text editor of the language, choose.
- If you click on this icon
 you can download the PDF.
- Now you must open the text editor
 to make all the changes required to get a wonderful article to translate and then distribute.
Here are the different points that you should all apply for the creation and layout of the Press File in the database editor.
a) Document Title
- Always put a title and a subtitle/header without forgetting the separator.
- Do not insert the title & Header in capital letters or include a full stop.
- Do not forget to put a space before and after the separator.
- Except in case of special request by the customer, titles should be 15 words maximum, subtitle 25 words maximum.
b) Create Document
- Skip a line before inserting your first paragraph to avoid the first photo sticking to the first paragraph.
- Avoid skipping lines unnecessarily in the same paragraph.
- Photo captions must be in italic.
- Paragraph titles should be bolded without skipping a line between the paragraph title and the paragraph.
- Do not leave all the photos at the end of the press file, try to position them as well as possible in the body of the text. (If your Press File is very short and you have a lot of pictures, you can use the new Hide in IMP function, so, when publishing to our IMP Media Online-Web, the excess photos will not appear.)
- Please do not forget to activate your links via the hyperlink function
 .
.
c) Lists of additional information that should not appear in the editor
- The country, the date
- Do not insert the local contact in the editor, nor the company's presentation.
- The words start/End, editor's note, should no longer be used either.
- Exceptional case: if your customer absolutely wants any of the above information to appear, please use the new function – Style: Hide in IMP
The text will always be visible in the PDF, by customers, journalists and translators. Although, it will not appear in our IMP Media Online Web.
Your press file is now created, now you need to review the PDF formatting.
- The different functions of the editor

 Source code
 Full screen Option
 Cancel or Redo
 Searching for
 Replace
 Select all
 Delete the format
 Paste as text
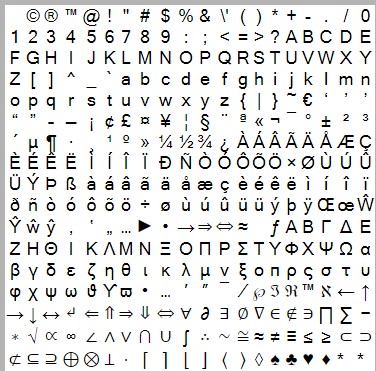
 Insert a special character
 Index & Exponent
 Bold & Italic
 Font size
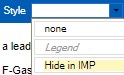 Legend Style & Hide in IMP function
 Insert/delete the numbered list & Insert/delete smart list
 Decrease or Increase withdrawal
 Left aligned, Center, Right aligned and justified text
Insert/modify hyperlink & Delete